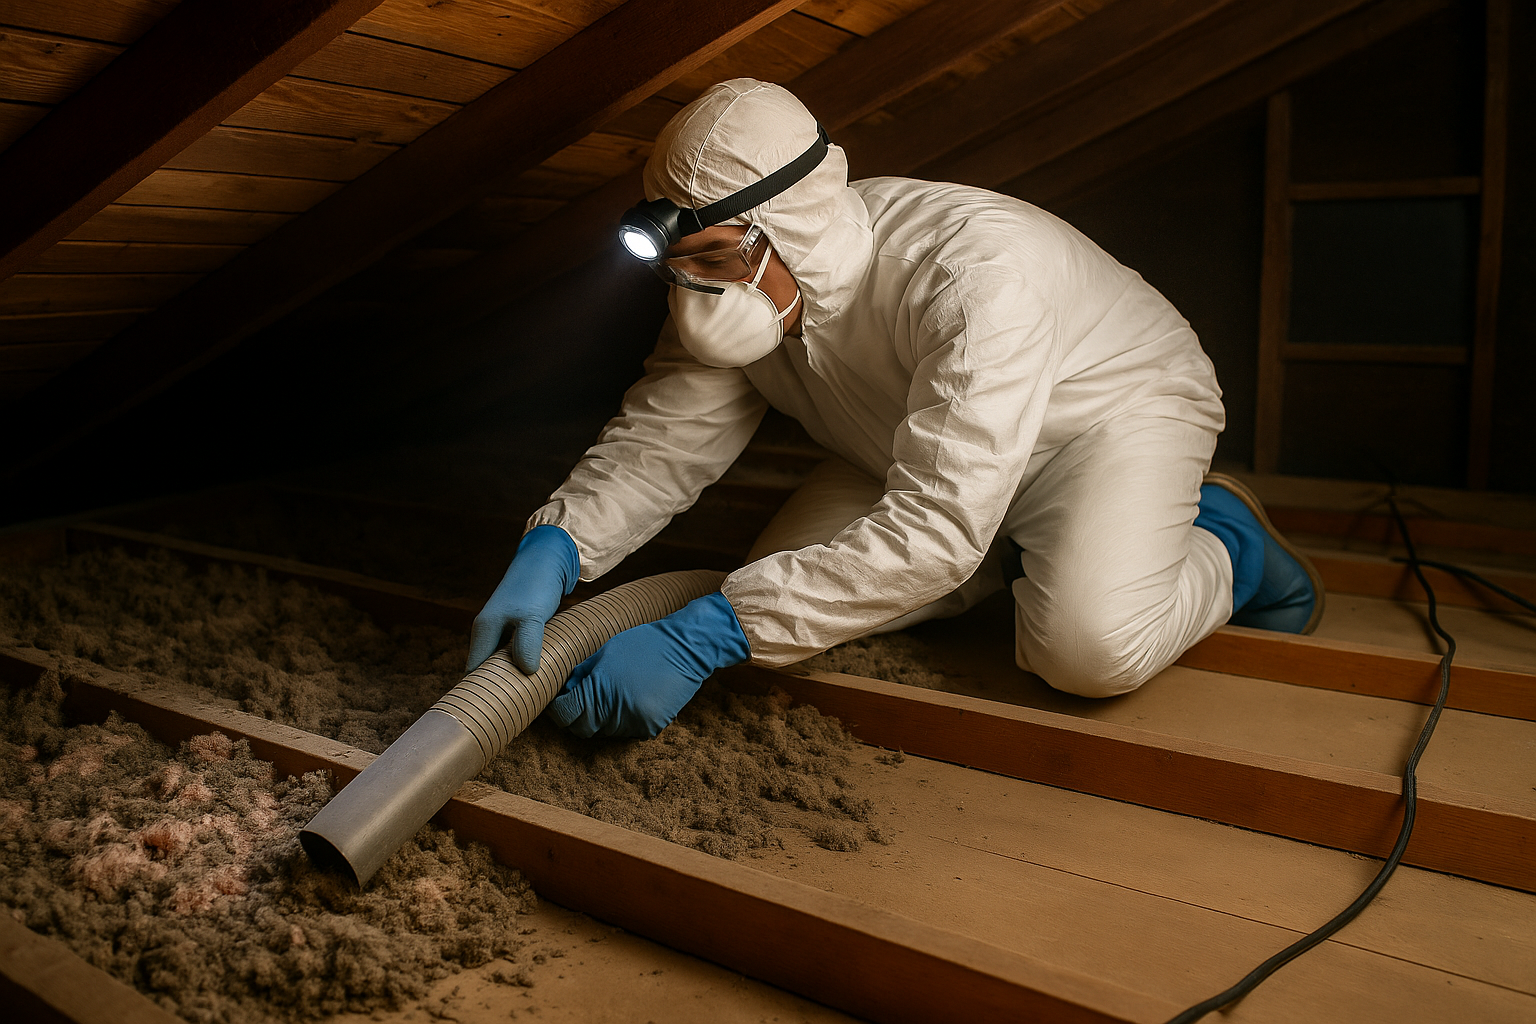
When and How to Safely Remove Attic Insulation
Attic insulation plays a crucial role in regulating indoor temperature and maintaining a comfortable home environment year-round. It acts as a thermal barrier, preventing heat from escaping during winter and reducing heat from entering during summer. This leads to lower energy consumption and reduced monthly utility bills.
Over time, insulation can wear out, become damaged, or lose its effectiveness, necessitating its removal and replacement. In this article, we're going to discuss when and how to safely remove attic insulation.
Signs It's Time To Remove Attic Insulation
Attic insulation should ideally be inspected and potentially replaced every 15-20 years to maintain its effectiveness. However, depending on several factors, you may need to replace it sooner. Here are a few signs you may need to remove and replace your attic insulation:
A Pest Infestation - Rodents and insects love to make their homes inside insulation. These pests can cause damage, leave droppings, cause unpleasant odors, contaminate your living space, and reduce the effectiveness of your insulation. If you've had a pest infestation, you may need to replace your insulation.
Water Damage - Water damage can significantly impair the effectiveness of insulation, leading to reduced R-value. Insulation, especially fibreglass and cellulose, soaks up water and moisture, which provides a favorable environment for mold and mildew to thrive.
Reduced Effectiveness - If you've noticed higher energy bills, uneven room temperatures, or ice dams in winter, it could be a sign that your insulation is not performing as well as it should be.
Extreme Climate - More severe climates might lead to faster degradation of insulation over time. For example, in Manitoba, extreme temperature swings can take a toll on your insulation. Summer heat can potentially cause materials to break down and compress, while winter moisture can lead to condensation, reducing insulation effectiveness. If you live in a region with an extreme climate or experience large temperature fluctuations, you may need to remove and replace your insulation more often.
Another common reason to remove insulation is to replace it with another type. For example, many homeowners choose to replace fibreglass with spray foam insulation in order to improve their home's energy efficiency, indoor air quality, and overall comfort.
How to Safely Remove Attic Insulation
Removing attic insulation requires careful preparation. The first step is to identify the type of insulation in your attic. Common types, including batt and roll, blown-in, and spray foam insulation, each require specific removal methods. Thoroughly inspect the attic for any signs of damage, mold, or pests before beginning removal. Once you've identified the insulation type and any potential hazards, you can begin the removal process.
1. Safety First
Always wear protective gear when removing attic insulation. This might include long-sleeved clothing, gloves, eye protection (goggles or safety glasses), and a high-quality respirator mask. Ensure adequate ventilation in the attic to avoid inhaling dust and fibers. If your home was built before 1990, be aware of potential asbestos and consider having it tested.
2. Gather Your Tools
Depending on the type of insulation in your attic, you will need to gather several tools and materials for removal, including:
A sturdy ladder for safe access to your attic and hard-to-reach areas.
A portable light source for visibility.
Protective sheeting to cover floors or furniture to prevent debris from entering the area below your attic.
Heavy-duty garbage bags to contain the removed insulation.
A high-powered, specialized vacuum to suck up blown-in or loose-fill insulation.
Hammer or flat-head screwdriver to remove staples from batt and roll insulation.
Serrated blades, scrapers, chisels, or specialized tools can help remove spray foam insulation.
3. Insulation Removal
Depending on the insulation type, use a commercial vacuum with a HEPA filter to suck up insulation or manually remove it by hand. Remove the insulation in sections to make it easier to manage and dispose of. Carefully collect the insulation in garbage bags and seal the bags to prevent small particles from escaping.
To remove spray foam insulation, use a tool like a putty knife, utility knife, or serrated blade to cut through and scrape away the foam. Be careful not to damage the underlying surface when removing the foam. Use gentle scraping and cutting techniques.
After removal, vacuum or sweep up any remaining dust and debris.
4. Proper Disposal
Follow local guidelines for the safe disposal of the insulation, which may include a designated recycling facility or a construction waste disposal site.
5. Consider Hiring a Professional
Removing insulation can be messy, labor-intensive, and requires a certain amount of knowledge and skill. If you're not comfortable with the removal process or have concerns about health and safety, consider hiring a professional contractor. Professionals are trained to safely handle contaminants or harmful materials like asbestos and know how to properly remove and dispose of insulation.
Removing and upgrading your attic insulation can improve your home's energy efficiency and ensure a healthier, more comfortable living environment for you and your family. Great Canadian Insulation provides a variety of insulation services in Winnipeg and the surrounding areas. Contact us today for a FREE estimate.

